Are airtight rated recessed lights actually airtight?
You might be surprised.


Air seal, Air seal, Air seal
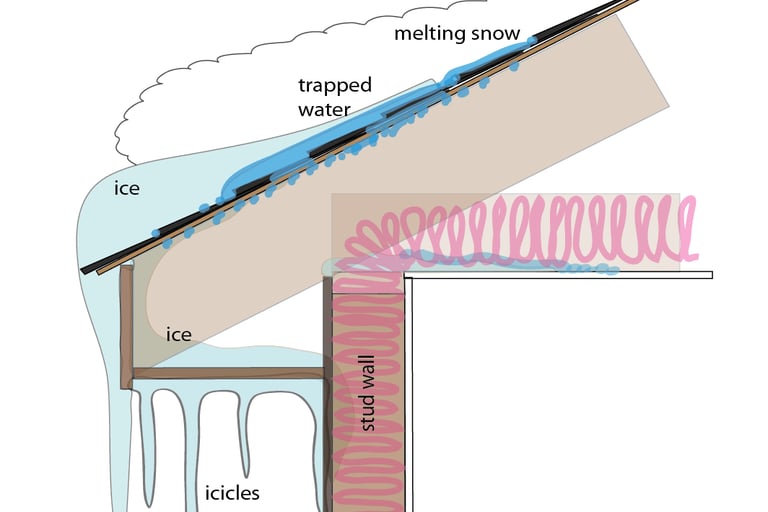
Air sealing is among the most important aspects when creating a robust building system. In fact, building scientists maintain that you should first make sure that you have air sealed before proceeding with the addition of insulation to your attic space. Why is this? Because air flow carries with it a great deal of heat and moisture. Heat and moisture are two things that we definitely don't want entering our unconditioned attic space. The typical vented attic is designed to mimic whatever the outside weather conditions are, and to be completely separated from the environment within your conditioned living space below. Heat and moisture that are able to pass through your ceiling and into your attic can create some major problems beyond the obvious fact that you are losing heat (or cooling) that you have paid for. For example, excess heat entering an attic in a winter that has experienced heavy snow fall such as we are experiencing here in the Fargo-Moorhead area this winter, can cause severe ice damming issues. I sense another blog article to explain exactly why ice dams happen, but the short version is that it occurs when the attic space is warm enough to melt standing snow on a roof. The water then travels down the roof until it hits the eave, where it refreezes. It refreezes at this location because typically the eaves (the overhanging part of the roof) is outside of the exterior wall and will have very cold winter air passing through the vented soffit as part of the attic ventilation. It is not actually the built up ice that creates the problem directly, but rather the melted snow that backs up and can't get past the ice dam, eventually finding a way to seep backwards under the shingles and into the wall cavity.
Warm, moist air escaping into the attic is still a concern even if we experience a winter without heavy, persistent snow loads on roofs that cause ice dams. Warm air is able to carry higher amounts of moisture, but when the warm moisture-laden air hits a very cold surface, the air quickly cools and deposits the moisture vapor that it can no longer carry as vapor onto the cold surface. In this case, we are talking about the underside of your roof sheathing. Frost will first accumulate on the roofing nails that poke through the underside of the sheathing because metal is a better conductor of heat and cold. So, the temperature of the metal nails will tend to be below the dew point (the temperature at which water vapor will condense on a cold surface) a little quicker than the wood sheathing. The frost that builds up on the underside of the roof sheathing will eventually melt. When this melting occurs, a homeowner may experience water "leaks" out of bath fans, recessed can lights, or any other place that the water finds a path. Typically, the amount of melting water will not cause major issues as there tends to be enough drying capability within a ventilated attic, but it is always possible that the conditions are such that the amount of drying is not greater that the amount of wetting in a given year. When this is the case, mold, wood rot and overall deterioration of building components are all possible.
Airtight recessed can lights
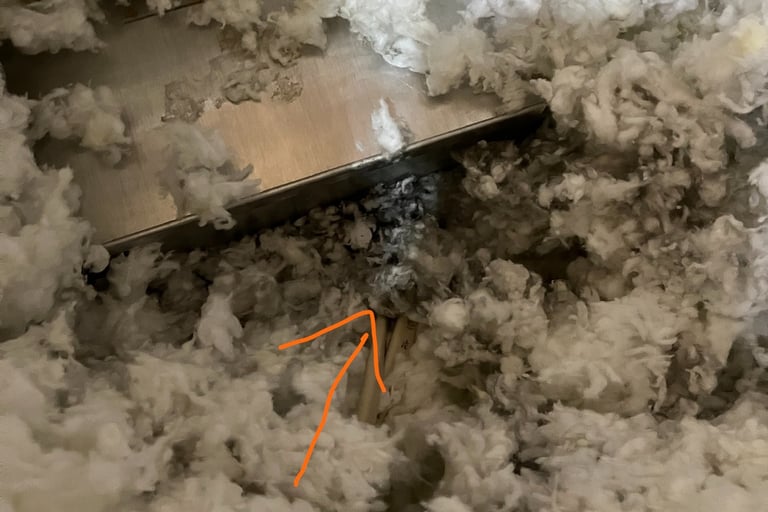
Okay, so I've typed a lot of words to this point and I have not yet gotten to the title topic, airtight recessed can lights. What do these have to do with air sealing, after all they are airtight, correct? Not exactly. While they are certainly much better at preventing air to pass through them than can lights that were used prior to building codes requiring air tight design, they are still not required to be 100% airtight according to ASTM E-283 testing standards. And this is assuming that the installation was perfect. In the picture below, we see part of an air tight can light from the attic side. Notice that the fiberglass blown-in insulation near the lighting housing appears black. This is not mold, this is actually evidence of air leakage. The fiberglass acts as a filter for dusty air that is leaking through the building envelope into the attic. When we see darkened insulation such as this in a location that can be suspected to leak air, it is definitive proof that air is indeed passing across the insulation.
What can be done if the housing is already airtight rated?
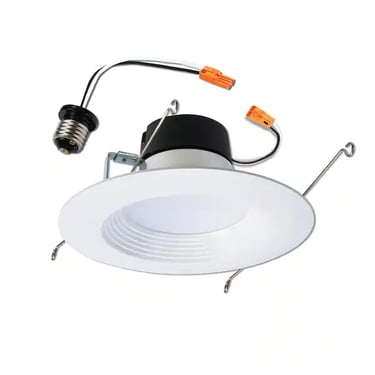
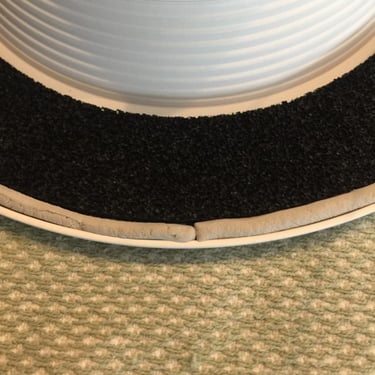
There are many different methods for air sealing can lights that can be found on the internet. Most of these assume you are air sealing a non-airtight rated can light. In the case that you already have an air tight rated can light, but want to reduce air leakage even further, a homeowner can swap out traditional bulbs with retrofit LED trim assemblies that are air tight rated themselves. Below is one example, but there are many. What you want is for the trim and the bulb to be all one piece. Some trim kits come with a foam gasket that is meant to air seal between the surface of the ceiling and the trim, but I would probably also use some rope caulk to help seal that gap. In addition, you can use a traditional caulk to seal between the drywall and the can housing. A belt and suspenders method is often the best approach to take.
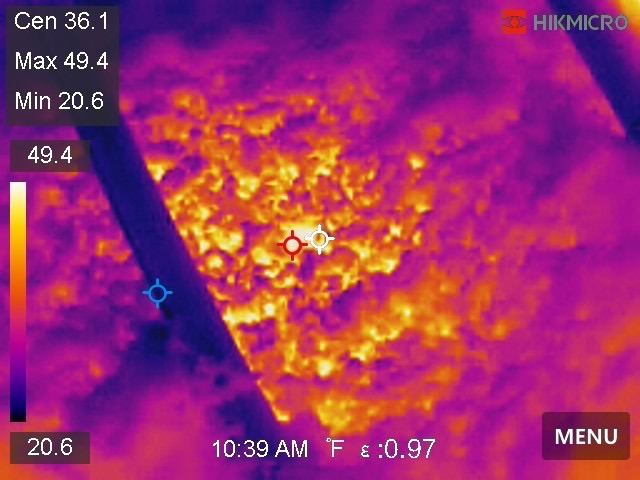
That's about it, but I want to share with you one more picture. Below is from the thermal imaging camera that I used to locate the can light housing in the attic. The temperature of the wood truss is 20.6 degrees, compared to nearly 50 degrees at the hottest surface temperature of the fiberglass blown-in insulation.Even with existing LED bulbs, you can see that there is a significant amount of heat being given off by the lights. Also, since the can light housings are 6-8 inches tall, you do not get as deep of insulation coverage over the top of them. In other words, if your attic insulation depth is 17" throughout the attic, you may only have 9" over the top of each can light. I would suspect that newer LED retrofit trim assemblies like pictured above would give off less heat than older LED bulbs.
That's it, until next time!
